
Web push integration in Shoper
NOTE: If you are already using web push in your Shoper store and both subscriptions and notification delivery work correctly, do not make any changes to your integration. In case of doubts, contact our support team via email:
Web push in the PushPushGo application for Shoper in 3 steps
- Upload the service worker file to the /upload/ directory of your store,
- Enter its path and scope in PushPushGo,
- Enable the form..
Path and scope of the service worker
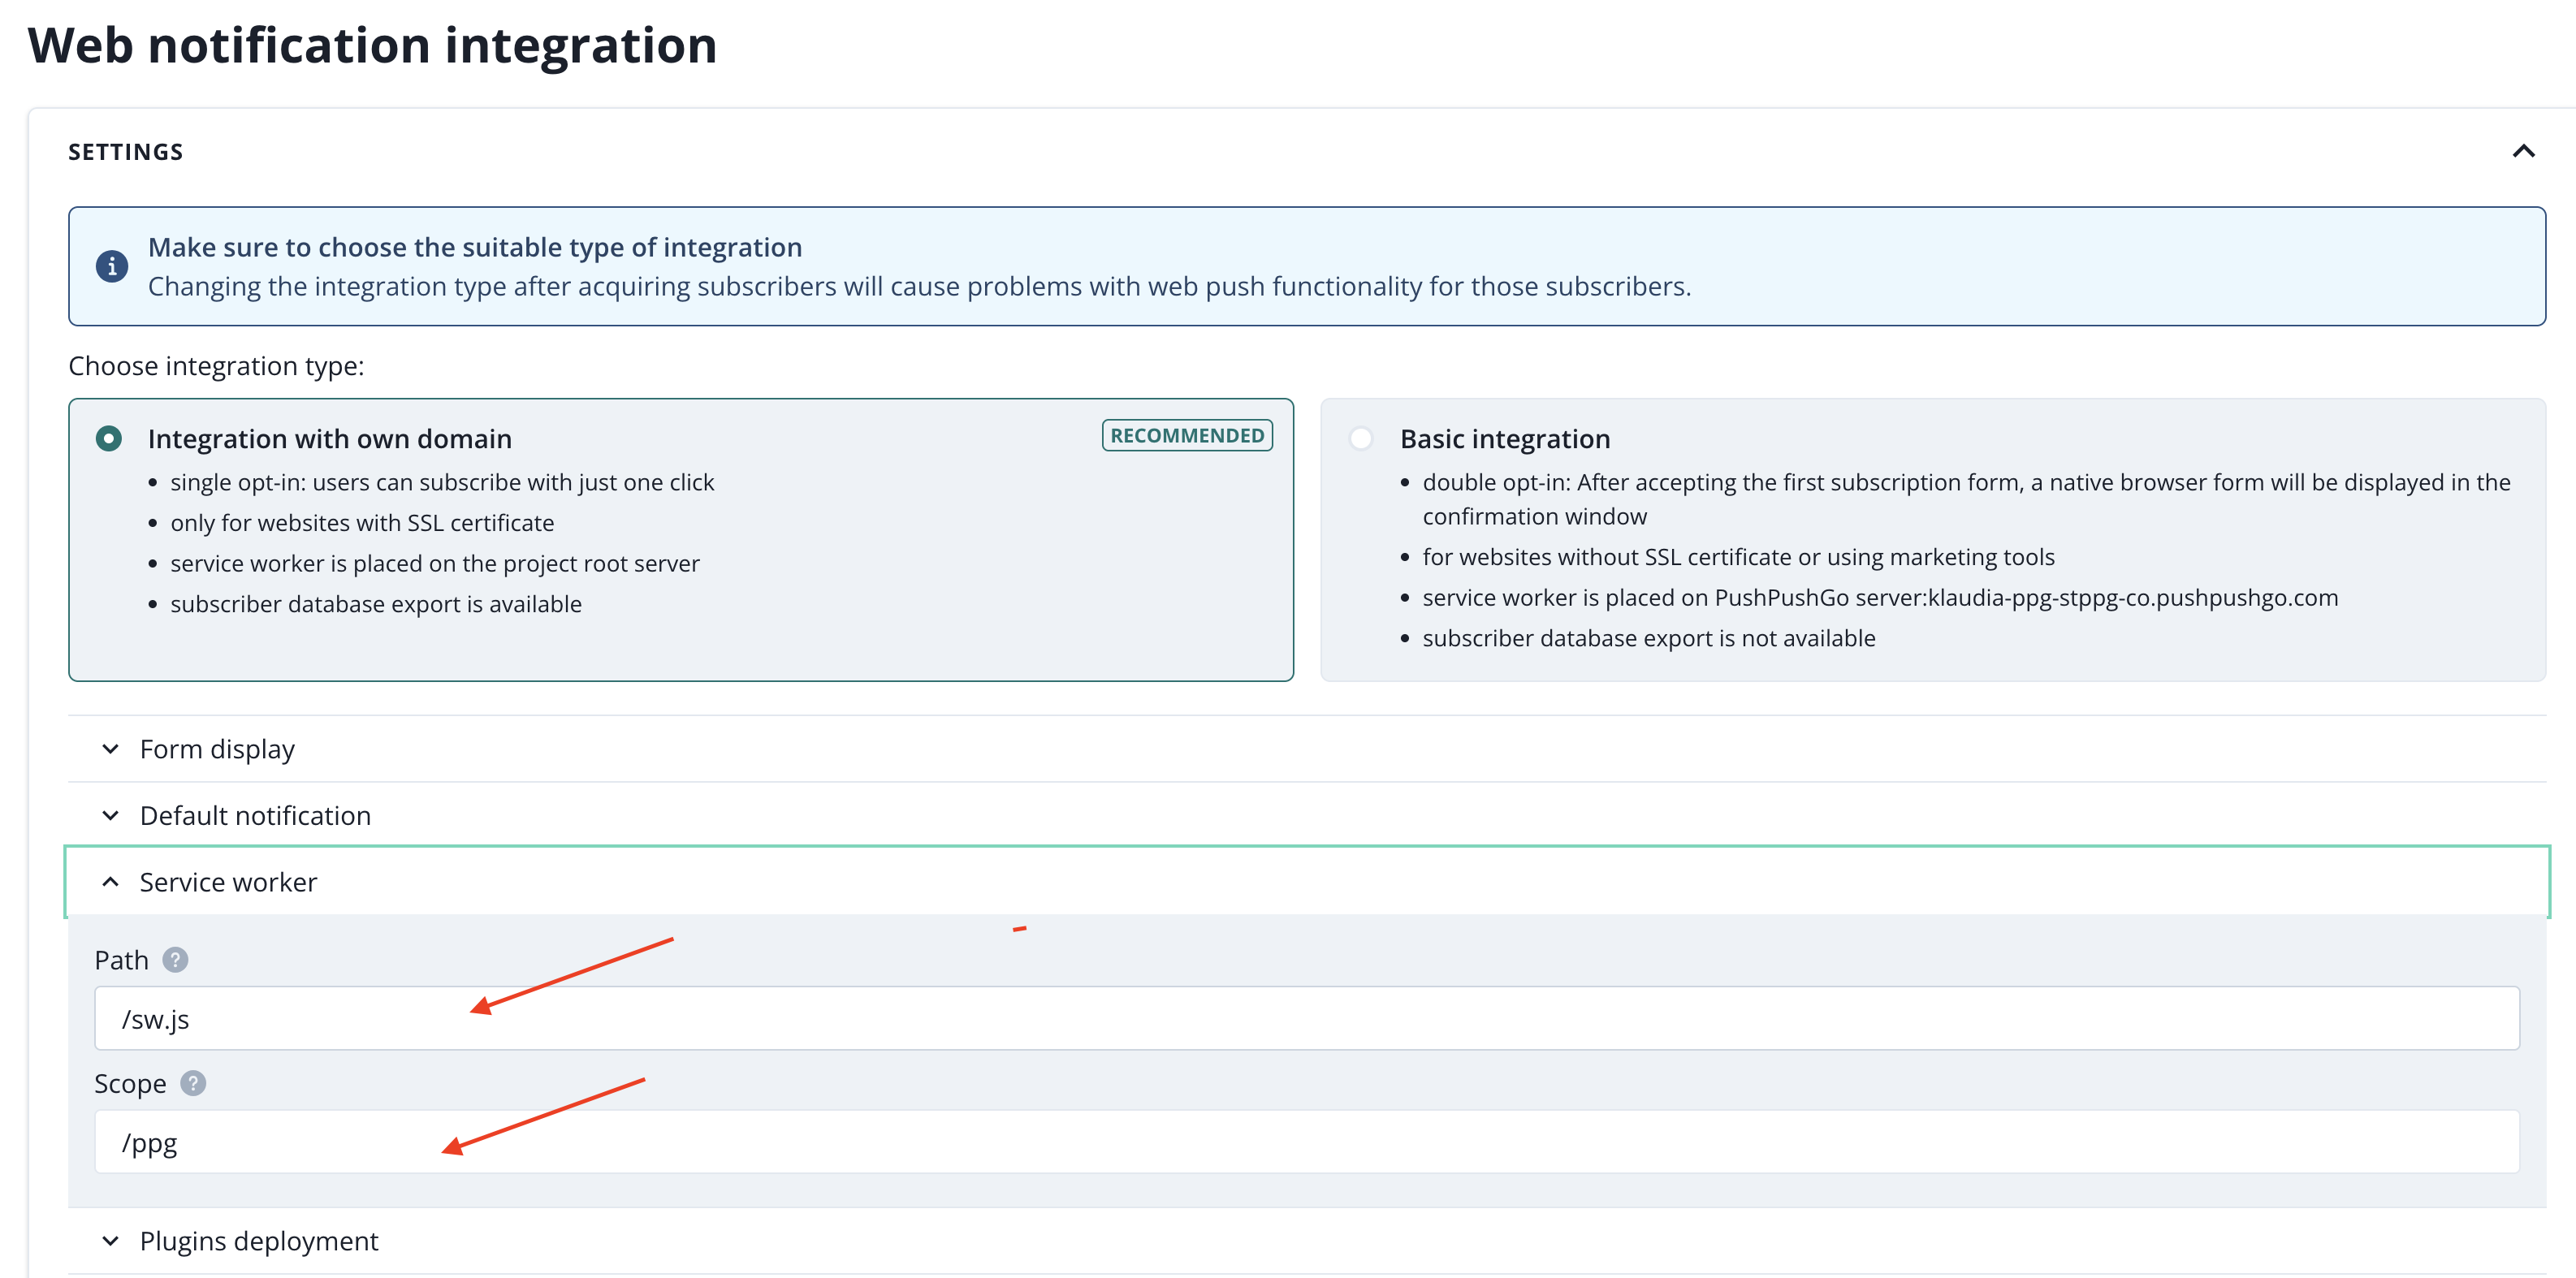
Web push will only work if both fields in the PushPushGo panel have exactly these values. A single character difference will block collecting subscribers.
Field in PushPushGo | Value to enter |
|---|---|
Service worker path (path) | /upload/sw-ppg.js |
service worker path | /upload/ |
- Both values start with a slash /.
- Scope ends with a slash: /upload/, not /upload.
- Enter only the path, without the store domain (not The file name is exactly sw-ppg.js: lowercase letters, with a hyphen, without additions like (1) or .txt.
- The file must be located in /upload/, not in the root directory of the store (the root directory in Shoper is read-only).
Before you begin
- The PushPushGo application is installed in your Shoper store.
- You have an active Shoper Starter, Basic, or Pro package.
- You have access to the Shoper administration panel with permissions for store files.
Step-by-step integration
- Download the file. In the PushPushGo application in Shoper, open the web push integration and download the service worker file from the integration scripts tab.
- Name the file. Make sure the file is named exactly sw-ppg.js. Do not change its content.
- Upload the file to /upload/. In the Shoper panel, open the file manager, enter the upload directory and upload sw-ppg.js. Settings > Advanced > File Management > Manage files > UploadCheck the file URL.
- Confirm the files path. Open in a browser https://yourshop.com/upload/sw-ppg.js (with your domain). You should see JavaScript code, not a 404 error.
- Enter the path and scope. In the PushPushGo application, enter /upload/sw-ppg.js in the service worker path field, and enter /upload/ in the scope field. Integration > Settings > Service worker.
- Refresh the panel. Reload the whole page (F5) — Shoper remembers the view state and without this you might not see the changes.Enable the form.
- Enable the web push subscription form.
If you are already using the Shoper Basic package, web push is available on your account, but disabled. It does not collect subscribers until you perform the above steps.
How to check if it works?
- URL https://yourshop.com/upload/sw-ppg.js opens the file.
- In PushPushGo, the path is /upload/sw-ppg.js, and scope is /upload/.
- The web push subscription form is enabled.
- After entering the store in incognito mode, a request for consent to notifications appears.
- After acceptance, the number of subscribers in PushPushGo increases by 1.
- A test notification sent to your own subscription reaches the browser.
Most common issues
Problem | Cause | What to do |
|---|---|---|
File address returns 404 | File in wrong directory or with different name | Upload it to /upload/ as sw-ppg.js. |
No consent request on the page | Invalid path or scope | Compare fields with table “Path and scope” — character by character. |
Scope entered as /upload | Missing trailing slash | Change to /upload/ and save. |
Path with shop domain | Full URL address entered | Leave only the path: /upload/sw-ppg.js. |
Form switch does not change state | Shoper retains old view state | Refresh the entire page (F5). |
Number of subscribers stopped growing | Package limit reached | Check limit (Basic: 5,000). |
Need help? Contact us: support@pushpushgo.